How to add Axis IP Speaker to Mirasys VMS
Step-by-step instructions for adding an Axis IP speaker to our VMS, to the wanted Profile in System Manager, and how to use it in Spotter.
In the example below, we have used the Axis C1410 Speaker.
Requirements
Licensed VMS server
Access to System Manager
Access to Axis Speaker
Adding Axis IP Speaker to Mirasys VMS
Axis Speaker uses the same Axis driver as a normal IP camera and requires a license for 1 channel.
Open the System Manager application.
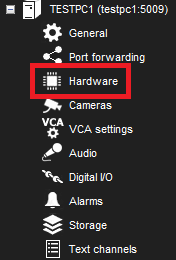
Navigate to VMS Servers.

Open Hardware

Add Axis Speaker by using the IP address or by using the search tool.

Axis Speaker has been added as part of your VMS system.
How to add Axis IP Speaker to Profile
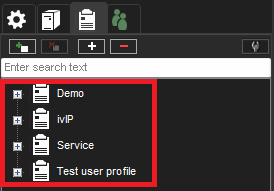
Open System Manager.
Navigate to Profiles.

Open the wanted Profile.

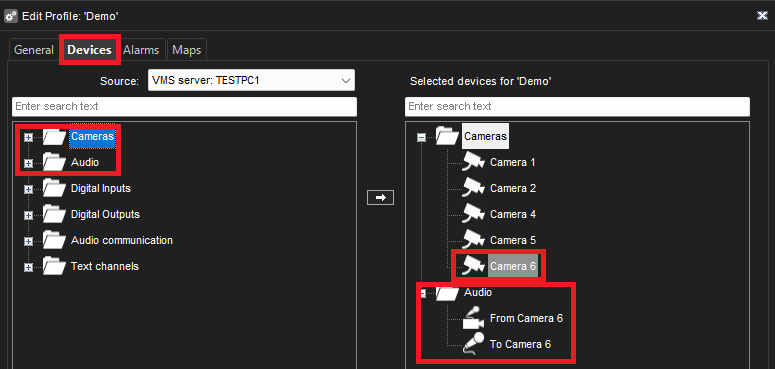
In Profile, go to Devices.
In the Devices tab, select the wanted Source and add IP Speaker and Audio devices to this Profile.

Save the profile.
Axis IP Speaker has been added to the wanted profile and the IP Speaker is ready to use.
Audio channels need to be added to Profile. If these are not added, you cannot use the speaker for 2-way audio.
How to use Axis IP Speaker in Spotter
Open the Spotter desktop application
Load the correct Profile if there are multiple profiles used for one user.
Open the Axis IP Speaker in the Device Tree.
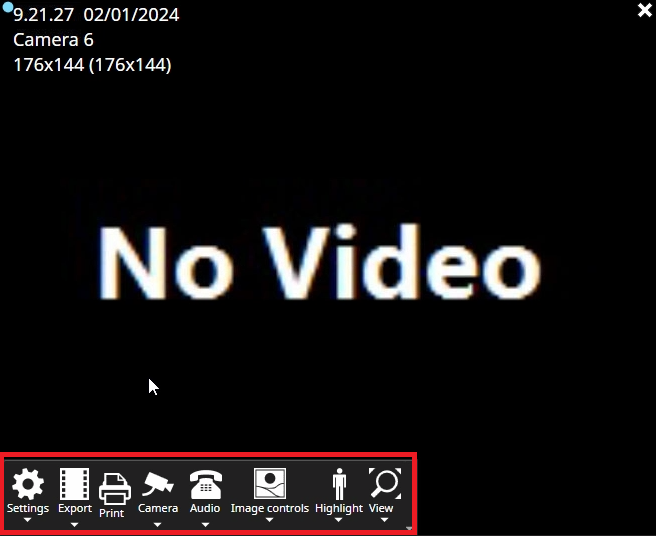
When you hover the mouse on this opened Axis IP Speaker, you see the action menu.

In this menu, you have the option to use Audio.
Click this Audio icon. This opens default 2-way audio communication.
If you click that small down arrow, this opens the option to use Listen or Talk mode.
This icon shows the following colors of the communication status.
Green is the audio level coming from the Axis IP Speaker.

Red is the audio level sent to Axis IP Speaker.

Please note that Spotter use default audio input and output devices for audio use.
As default, the VMS is using audio detection to record audio. If this is not needed or wanted, you can disable audio recording via System Manager and Audio section.
