Adding privacy zone
-
In the Privacy Zones tab, select the camera from the camera list.
-
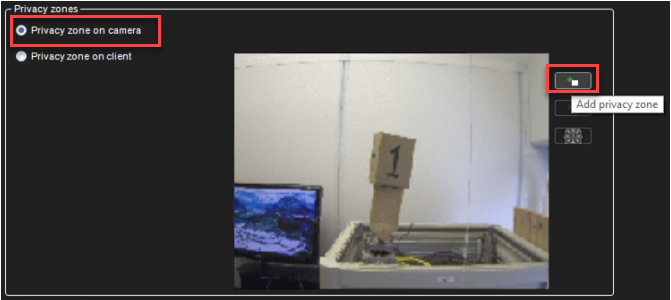
Select Privacy zone on the camera
-
Click Add privacy zone.
-
Paint the privacy zone onto the camera view. The newly created zone is displayed in semi-transparent light grey. You can resize and move the zone by dragging it.
-
Repeat steps 1-3 to create as many private zones as required.
-
Click OK.
Removing the privacy zone
To remove privacy zones:
-
In the Privacy Zones tab, select the camera from the camera list.
-
Click on a privacy zone in the camera view.
-
Click Remove privacy zone or Remove all privacy zones.
-
Click OK.
ONVIF Profile T privacy masking support
The ONVIF automatically detects if a Profile T device supports privacy masking. This feature provides greater control over video surveillance content and allows users to add, remove, or modify privacy masking for our VMS in the System Manager.
For more information, see the System Manager Desktop Application’s Help tab > Help Topics > VMS Admin Guide > The VMS Servers > Cameras > Privacy