You can set the days and hours a specific user group can access Spotter to control operators' access to it outside of working hours, for example.
Go to System Manager > Users and User Groups to configure the User group access schedule.
Regular Schedule
Use the Regular Schedule tab to set a weekly schedule, controlling when the user group can use Spotter or when it will be prevented.
-
Click on the User group that you want to edit.
-
Click the tab Active hours.
-
All hours every day are Active by default.
-
To prevent access during certain hours:
-
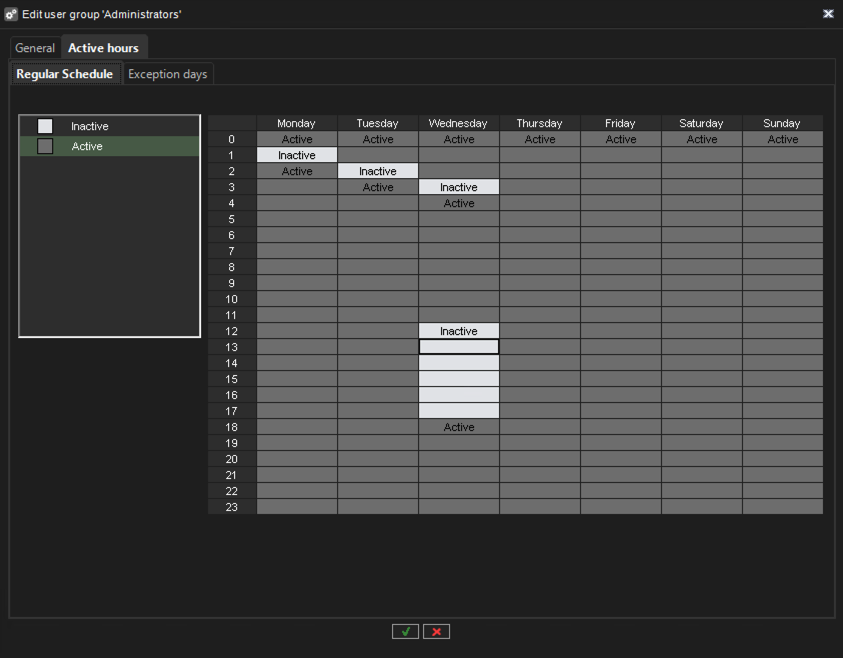
Select Inactive to the left of the weekly schedule.
-
Click the hours the user group should not have access to Spotter (=Inactive).
-
-
To change an inactive hour back to active, select Active to the left of the weekly schedule and click on the hour during which the user group should be able to log in to Spotter.
-
When the Regular Schedule is finalized, click the green checkmark to Save.
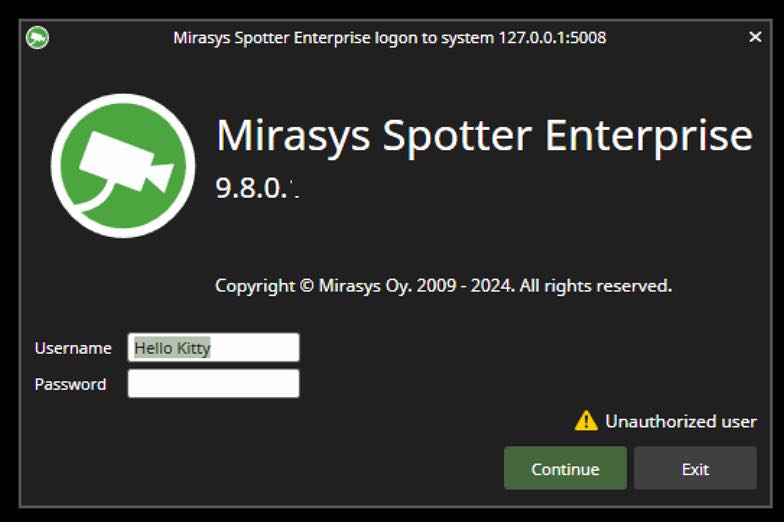
If an Operator in a user group tries to log in to Spotter during an Inactive time, the Operator will not be able to log in, and the message Unautorized user will be displayed.
Exception days
If you want to use another schedule on a specific date, you can overwrite the regular schedule for that date under the Exception days tab
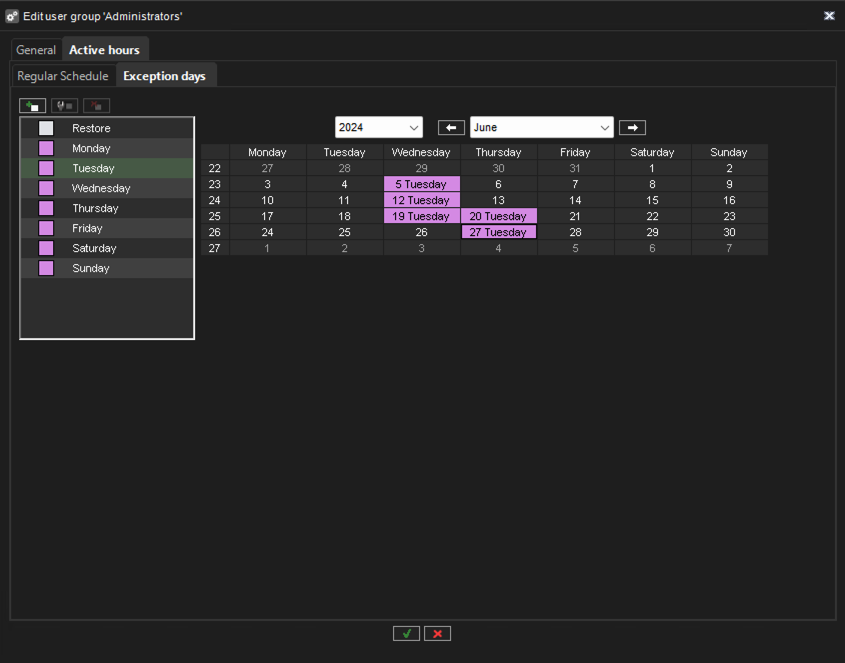
Your Regular Schedule is available for all weekdays to the left of the calendar for Monday, Tuesday, Wednesday, Thursday, Friday, Saturday, and Sunday.
-
Select the month and year.
-
Select the day to the right of the schedule to use another day’s schedule, then click on the date you want to use another day’s schedule.
For example, the Tuesday schedule below is used for some Wednesdays and Thursdays in July.
-
To remove an exception day, select Restore and click the date.
-
Click the green checkmark to Save.
Create a new exception day schedule
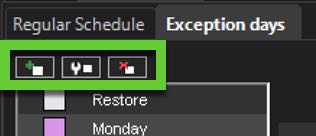
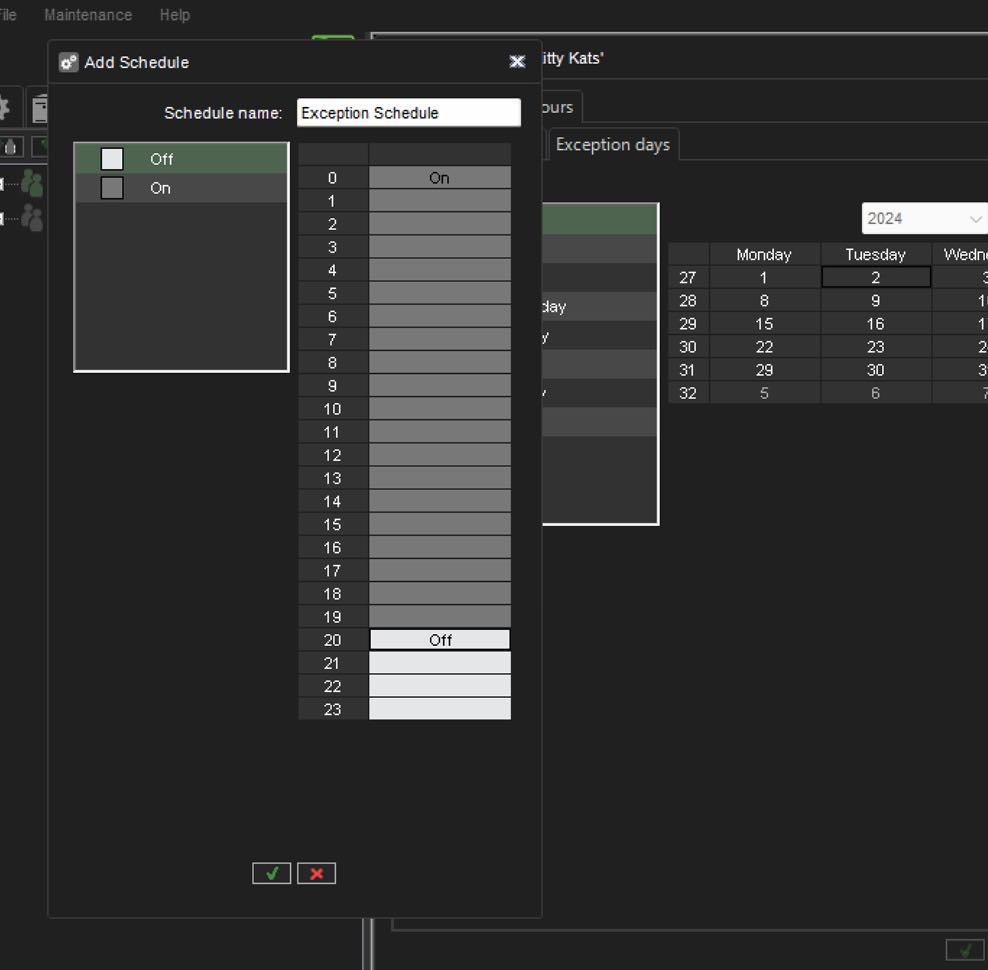
You can also create your exception schedule by clicking the + sign at the top-left of the schedule.
In that exception schedule, you can select which hours there should be an exception to the regular schedule (On) or not (Off).
-
Select On or Off and click the hours to have the regular schedule not in use or in use.
-
You can name the schedule under the Schedule name.
-
Save it by clicking the green checkbox.
It is now ready to be used on Exception days.
The exception schedule can be edited and deleted by using the menu:
