During the server software installation, the installer designates the material disks used to store the recorded data. Effectually, the server installer scans the locally available HDDs and grabs any sufficiently large drive automatically for material storage purposes. The operating system disk is omitted.
-
If the automatic storage configuration does not detect a disk, the storage drives can be added later using the system manager.
-
If the automatic storage configuration is grabbing disks that are not intended for material storage, the automated logic can be disabled from the installer.
The HDDs don't need to be the same size in the earlier Mirasys VMS releases. After designating the material disks, the installer appropriates all except 10 GB of it for data storage.
It is highly recommended not to use USB HDDs in the server, as they will be used as data storage disks for other HDDs.
These instructions apply when installing software on a new server or reinstalling software on a server not provided by Mirasys.
Mirasys VMS will require SQL Express 2022 to be installed on the Management server. The "full" Microsoft SQL Server 2022 works, but then the configuration has to be customized. Mirasys provides an installer that will install SQL Express with the correct settings as part of the VMS install. If you are planning to use Microsoft SQL Server Standard or Enterprise, please check this guidance.
SQL Database
-
V9.9.0 and later include the MS SQL Server Express 2022
-
V9.5.0 and later include the MS SQL Server Express 2019
-
V9.4.1 and earlier include the MS SQL Server Express 2014
Mirasys VMS is available as a Complete installer and an Update installer.
The Complete installer should be used with
-
Management Server installations
-
VMS Server installations
The Update installer can be used with
-
Client application installations
-
Upgrade installs when SQL is already installed
Installation with the VMS package
This guide will walk you through how to install the necessary client programs (System Manager, Spotter, and System Monitor) to use the Mirasys VMS on a separate computer.
Administrator user rights are needed for installation.
If a Spotter or System Manager or both clients are already installed, those need to be uninstalled before proceeding with the System Manager and Spotter installation.
-
Start the installation by clicking the Complete installation package
-
Click Install
-
Click Next
-
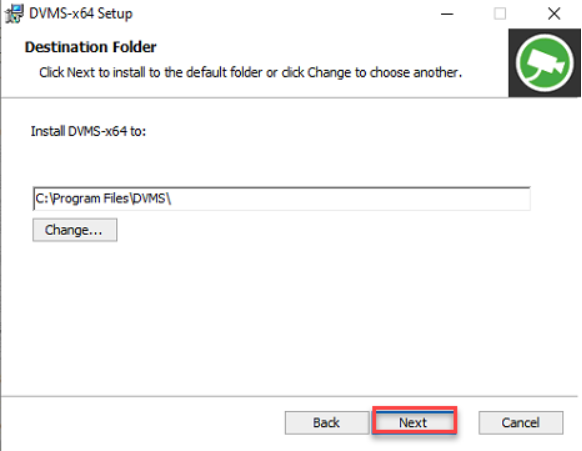
Use the default destination folder, or if needed, change it and click Next
-
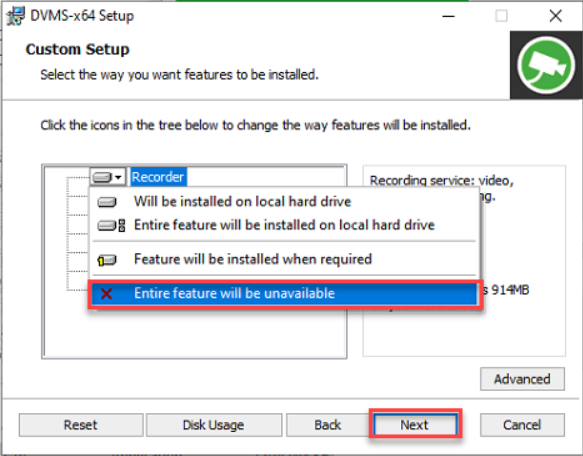
Use all default settings and click Next
-
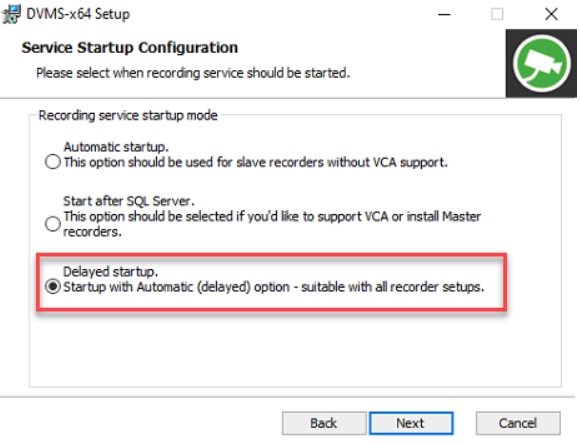
Select Service Startup Configuration to Delayed startup and click Next
-
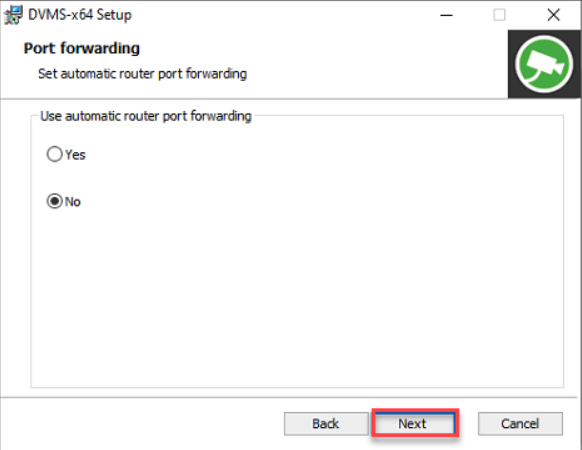
Use default settings in Port forwarding and click Next
-
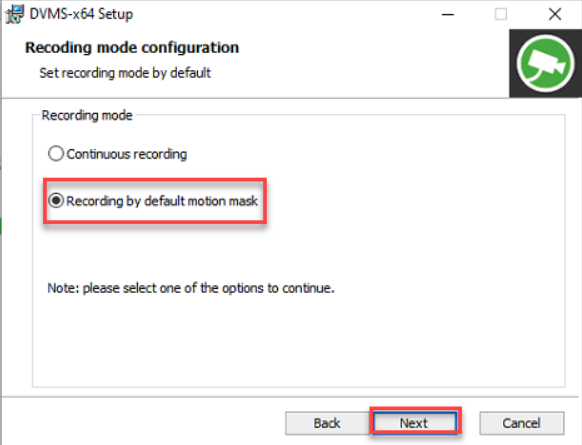
Select the option Recording by default motion mask, and click Next
-
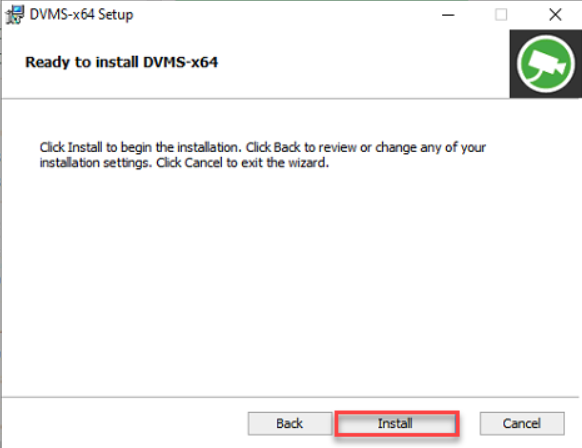
Click Install
-
Click Finish

-
Click Close to finalize the installation
Set The Windows TCP/IP Addresses
To set the TCP/IP addresses in Windows 10:
-
Click Start, point to Settings, and then click Control Panel.
-
Double-click Network and Internet.
-
Double-click Network and Sharing Center.
-
Click "Change adapter settings."
-
Right-click on the network adapter of your choice and choose Properties.
-
Click Internet Protocol v4 (TCP/IP) and then click Properties.
-
Select Use the following IP address and type a static IP address. Also specify the Subnet Mask, Default Gateway, and DNS Server address.
Change VMS server Addresses
If the server will function as the Main Server of a system, and if it will be accessed over a network, you have to set the server's IP address through the System Manager application.
-
Log in to the System Manager
-
Open System tab
-
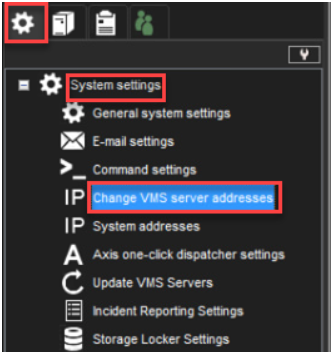
Select System settings
-
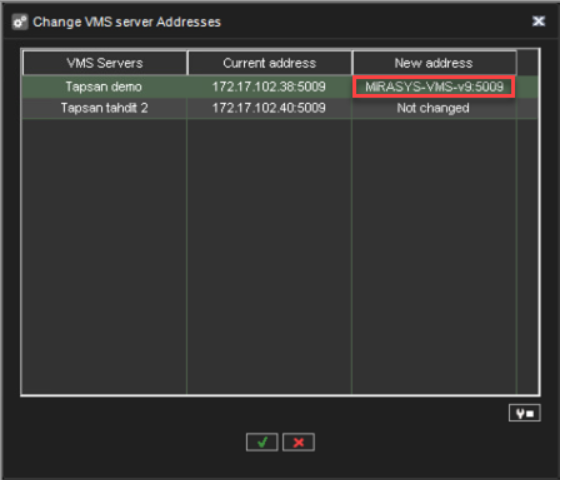
Click Change VMS server addresses
-
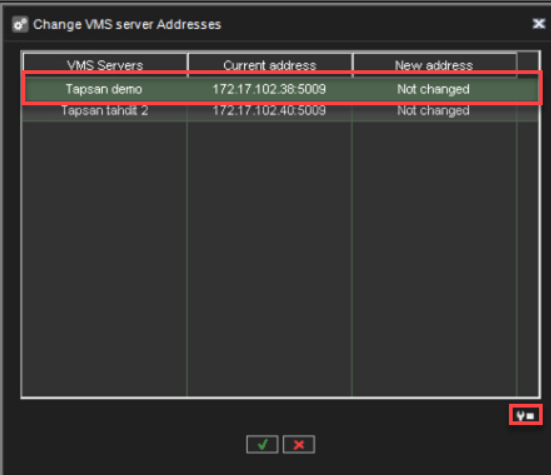
Select a server from the list and click Change VMS server address
-
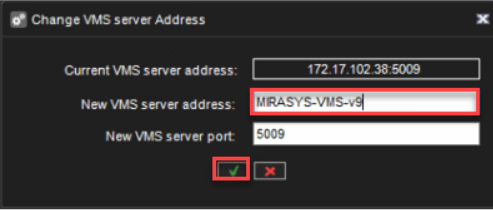
Enter the client network IP address or computer name in the New VMS server address field
-
Click Ok to save changes
-
The changed address can be seen in the new address field
You only need to set the local IP address for the Main Server of a system if the server can be accessed over a network. If the server is accessed locally, there is no need to set the address.
Enable Time Synchronization
When more than one server is used in the same system, the Main Server keeps the clocks of all networked VMS Servers synchronized.
The Main Server will synchronize the clocks using the computer clock as the source.
For this reason, one server should not belong to more than one system.
The Main Server synchronizes the clocks once a day.
However, if the time difference between the clock on the Main Server and the clock on the other server is more than 29 minutes, the clocks are not synchronized.
For the time synchronization to work correctly, the Windows time synchronization must be disabled on the other servers. However, it can be enabled on the Main Server.
To disable Windows time synchronization:
-
Click Start, point to Settings, click Control Panel, and then double-click Date and Time.
-
On the Internet Time tab, make sure that the checkbox Automatically synchronizes with an Internet time server is not selected.
Obtain a License Key
By default, without a VMS license, the server supports only one IP camera.
To get the full functionality, get a license key from Mirasys.
For the license key, you need the MAC address of the server.
To get a license key:
-
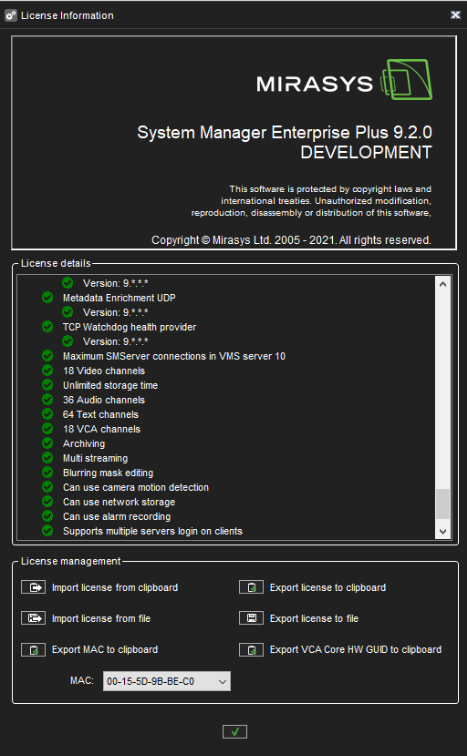
Start System Manager. The License Information dialogue box is automatically shown when no license key has been specified.
On the System tab, under Licenses, double-click the server that you want to update.
-
In the License Information dialogue box, copy the MAC address and send it to Mirasys. In return, you will receive the license key as a text file.
-
Click Import license from the file.
-
Click OK. The system is updated immediately.
The default unregistered state that allows the use of one IP camera has been time-limited.
The unregistered state can be active for up to 60 days, after which a valid license key is required. Unless a valid license key is added to the system within 60 days after the installation, the system will cease to operate.