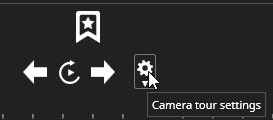
Camera tour controls can be configured to be seen in both standard and large view mode playback panels.
Control is enabled when there is more than one tab open in Spotter.
Settings are opened from the "Cogwheel" icon.
There is a row for each tab. Particular tabs like plugin tabs have disabled functionalities and are by default disabled.
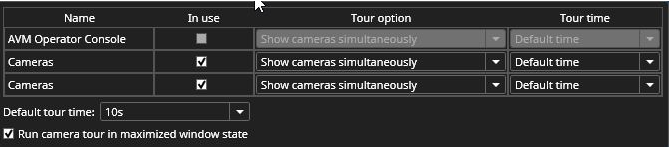
After each tab, there is an option to enable or disable the tab. All tabs can be added to a tour if desired.
There are two options for the Tour.
The user can either show cameras simultaneously or show cameras one by one.
If devices are shown one by one, it is possible to have a tour with just one tab.
The tour time can be selected at the last row individually, or the user can set a default time and define it at the lower-left corner.
There is also an option to run the camera tour in maximized window state on the lower-left corner. This checkbox is selected by default.
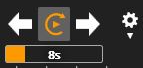
When the tour is running, it is indicated with a rotating orange arrow. The Camera borders are also highlighted in orange.
There is also a counter underneath the controls that counts the time set for each tour step.
The user can also select the forward and backward arrows to move between tour steps.
The tour is stopped if the user selects another operation in Spotter. For example, the image or clip export stops the tour.
Note: A camera tour can also be operated in the Agile Video Matrix (AVM) with the AVM Operator Console. In AVM, the counter is not displayed.
Frequently Used Keyboard Shortcuts:
|
Shortcut |
Description |
|
F12 |
The toggle camera tour starts and pauses state. |
|
Ctrl + F12 |
Steps to next camera tour view. |