The Smart List Management plugin can be used to define the identities and identity lists on the Spotter side for users with permission to do list management changes but cannot access the System Manager application.
Open the plugin and access the list management
Click the Spotter plugin toolbar item to open the plugin:
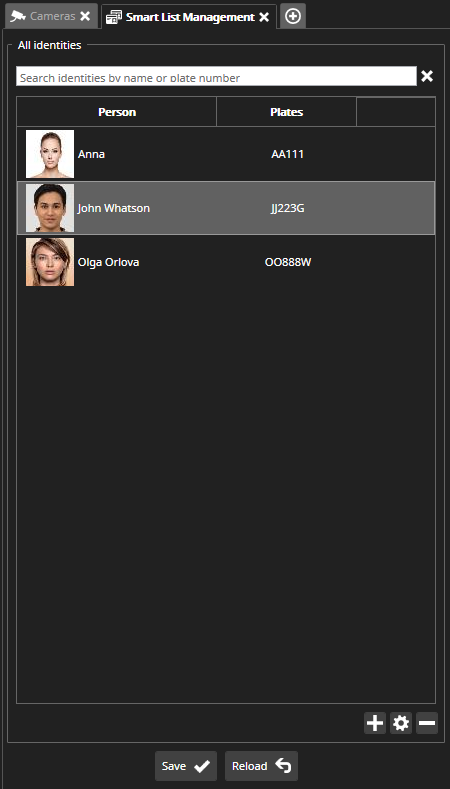
If a list management service is available and contains identities only (no identity lists are configured) and the user has permission to access identities, you will see the main plugin view dialog below:
If a list management service is available and contains identity lists and you have permission to access them, you will see the main plugin view dialog below:
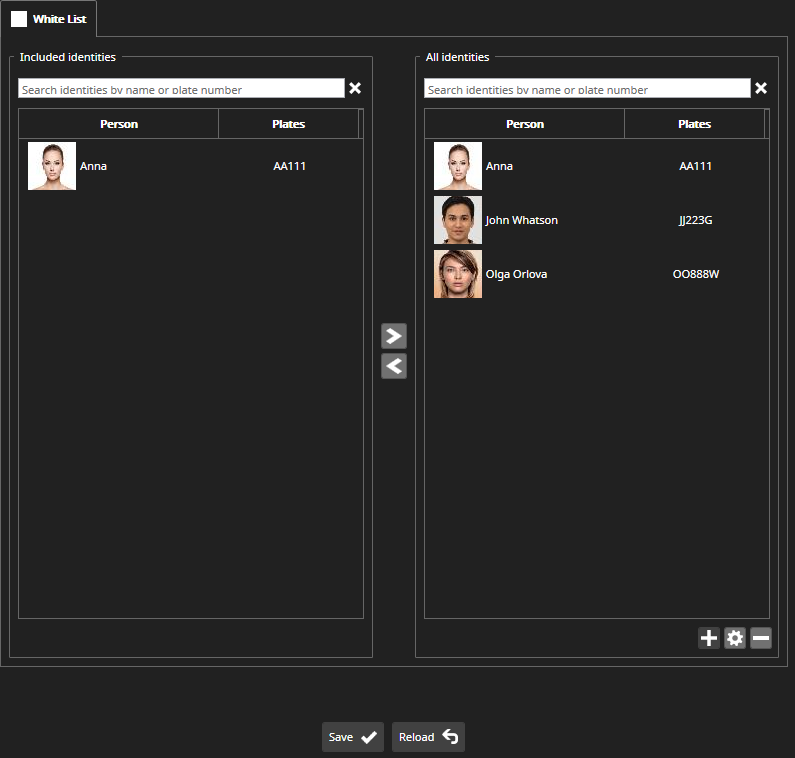
Main plugin view
In the main view of the plugin, you can switch between lists, add identities to the selected list or remove identities from the list, and add and remove identities. In addition, you can modify the selected identity by double-clicking on it or using the “Modify identity“ button.
Search
Above the lists of identities, you can find the Search fields: when you type text in the search field, the list of identities is automatically filtered if the text is found in identity names or plates.
Add a new identity or modify a selected identity
In Spotter Smart plugins (Smart Recognition and Smart Search), you can add a new identity or add a new face or plate number to an existing identity by selecting a face or license plate detection event.
-
By clicking the Add Identity button, the Smart List Management plugin will be opened, and in the “Add Identity“ view, you can fill the information and save a new identity
-
By clicking the Add face image or plate number to an existing identity button, the Smart List Management plugin will be opened, and in the Identity Selection view and you can select which identity should be updated:
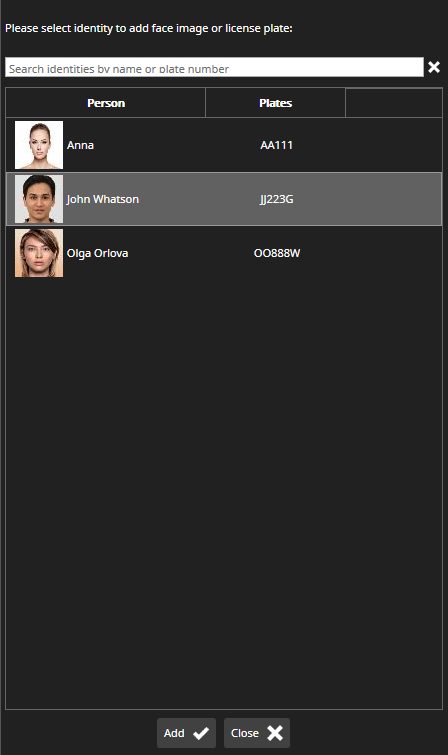
After selection, you can click the Add button (or double-click the selected identity), and the Modify Identity view will be opened.
Adding the face or plate number is only possible if the user is authorized to change the identity information.
When you add a new identity or modify a selected identity, it will be opened in the Add/Modify view below:
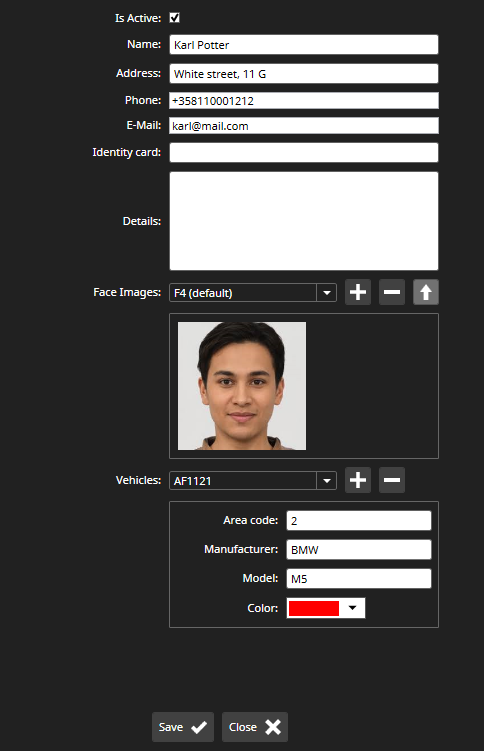
Here you can fill in identity details, add/remove face images and add/remove vehicles.
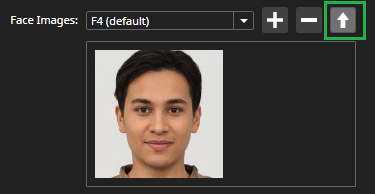
One face image is the default, so it is used as a thumbnail in all plugins and identity lists. To set the face image as default you need to select the face image in the combo box and click Set selected face image as default button:
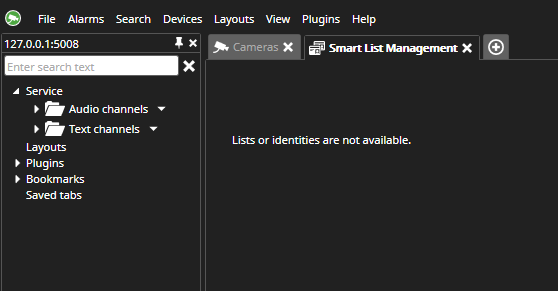
Service error/no identity lists
If something is wrong with the service or there are no identity lists, then you will see an empty dialog with the message below:
Save and reload
There are two buttons in the bottom part of the main view: Save and Reload. you can reload all data from the list management service by clicking the Reload button. In this case, all data (identities and lists) will be reloaded from the service, and all changes will not be saved. You should click Save to save the changes, and all data will be stored in the list management service.
Automatic data reloading
If the plugin receives a notification that list management data was changed by another user/application, then all data will be reloaded automatically, and you will receive the message below:
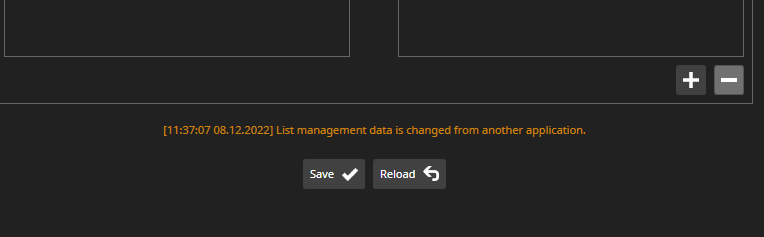
All views will be closed, and the main view will be displayed after reloading. If you had some unsaved changes, then after reloading, all these changes will be lost.