Starting Spotter and Logging In

A Spotter is started by double-clicking the Spotter icon on the desktop is also possible to start Spotter automatically when the computer boots up. See more from Installing Spotter With VMS Installer package
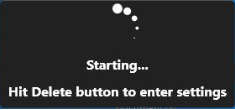
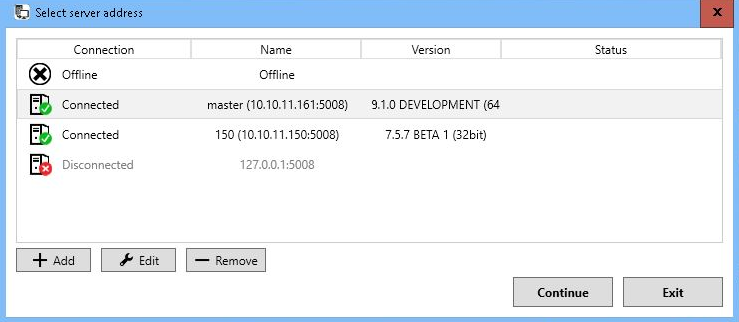
It is possible to create shortcuts that control to which Master Server Spotter connects. The application launcher dialogue for site selection can be accessed by pressing the "Delete" button on the initial dialogue when the spotter is launched as administrator.

The site selection list contains the list of all the master servers that have been configured. More servers can be added, or the details of existing servers can be edited with the add and edit options. Users can choose a server and press "Continue" to log in to that server.

The system will log in to the last server if the site selection screen is not accessed during Spotter’s startup. It is possible to log in to different versions and servers that are 32-bit or 64-bit versions. The settings and other site-specific information and resources for different servers are stored separately. After choosing a server and continuing, the login screen is shown (unless the user has selected automatic login for this server).

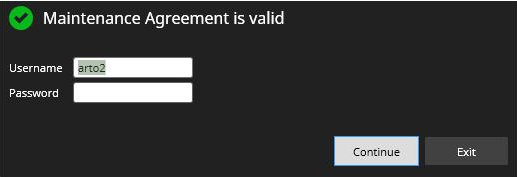
The user can enter his/her username and password here and then "Continue" to log in. It is possible to have multiple Spotter windows logged in to different servers simultaneously. After logging in to one server, the user can re-start Spotter from the desktop icon, enter the site selection dialogue and select another site. All site-specific operations such as layout saving only affect the Spotter settings to which the user is logged.
Postpone Spotter restart
When the system is updated, and there comes an event that the client needs to be restarted, if postpone Spotter restart is set on Spotter user roles, then the client restart is postponed. Postponing time is defined in the Spotter user role. Postpone time and the possibility to trigger Spotter restart are shown in Spotter UI.
