Hikvision Proxy is separate service which can be install to VMS server. With this service system can receive Hikvision metadata from camera. This proxy need to be install all VMS servers where you want to fetch metadata from Hikvision camera. Proxy configuration happens using VMS server Text Channels feature.
Requirements
-
Administrator user rights
-
Hikvision Proxy
-
Installer can be download from Extranet
-
-
Latest UDD files can be found under DVR folder
-
Default location C:\Program Files\DVMS\DVR\UDDConfigExamples
-
Installation
-
Extract zip file to example c:\temp
-
Double click setup file
-
This open installation wizard, click Next to continue
-
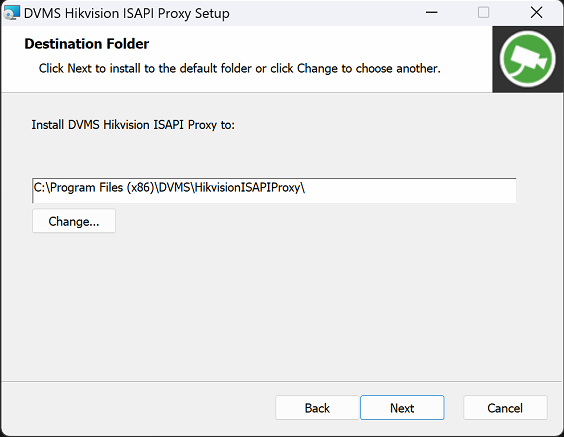
Select installation place or use default place and click Next to continue
-
Click Install to start installation
-
Wait that installation is completed and click Finish.
-
Now Hikvision Proxy is installed to VMS server.
-
After installation check that you have file under DVR-folder
-
UDD4HikvisionISAPI.xml
-
If not you can copy them from UDDConfigExamples-folder to DVR-folder
-
Configuration
-
Check that Hikvision camera is added to system using native driver and image is working
-
You can check this under System Managers → Cameras
-
-
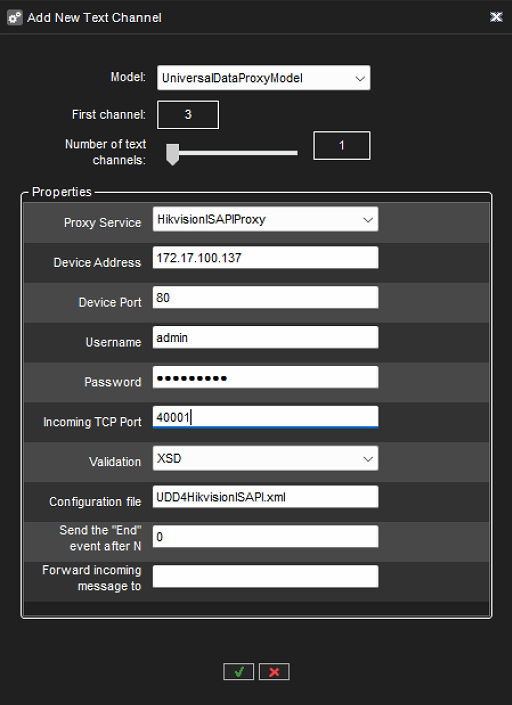
Create new Text Channel for wanted camera
-
On Text Channel you need
-
Select Model; UniversalDataProxyModel
-
Proxy Service; HikvisionISAPIProxy
-
Device Address; Camera IP
-
Device Port; Camera port, default is 80
-
Username; Camera username
-
Password; Camera password
-
Incoming TCP Port; This is port for Proxy internal communication, Default 40000
-
If same server has multiple cameras which use Proxy, this port need to be different for each Text Channels; example starting from 40000, 40001 etc.
-
-
Validation; XSD
-
Configuration file; UDD4HikvisionISAPI.xml
-
Send the “End” event after N; 0
-
Forward incoming message to; Empty
-
-
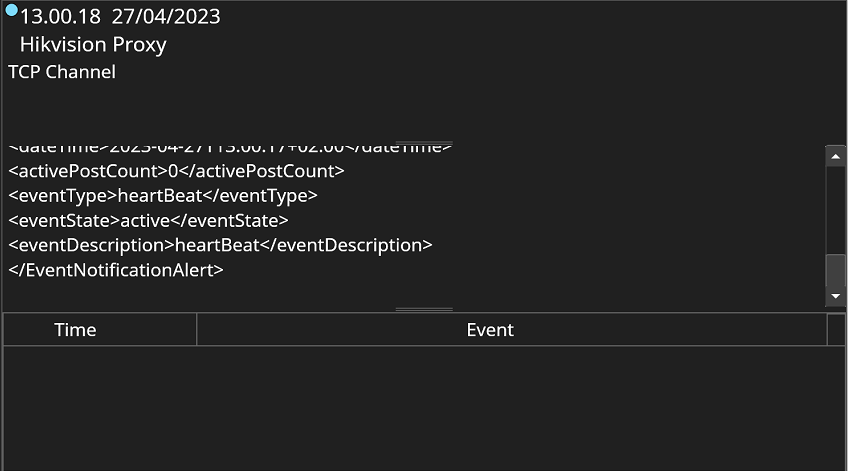
Now you can save these settings and check via Spotter that Text Channel is working and you can see data from camera.
-
If you are using different profile on Spotter side, please add this Text Channel to wanted profile, without this you can’t see this Text Channel on Spotter
-
-
If everything works, you should see heartBeat data on Text Channel
-
When everything is working and you can see data on Text Channel you can use System Manager to do alarms based on camera metadata events.
NOTE
-
If you modified UDD file but don’t change name of this file. VMS update will overwrite this file. Please make copy or use own file name for modified UDD file which you can then update to text channel Configuration file.
Troubleshooting
-
No data in Text Channel
-
Check configuration and test that camera is working as normal on VMS side.
-
Check Text Channel username and password.
-
-
Event missing
-
If there is event missing, you can add this to XML file and then restart services to reload this new file.
-