Upgrading from V7 to V9
Backup existing system settings
-
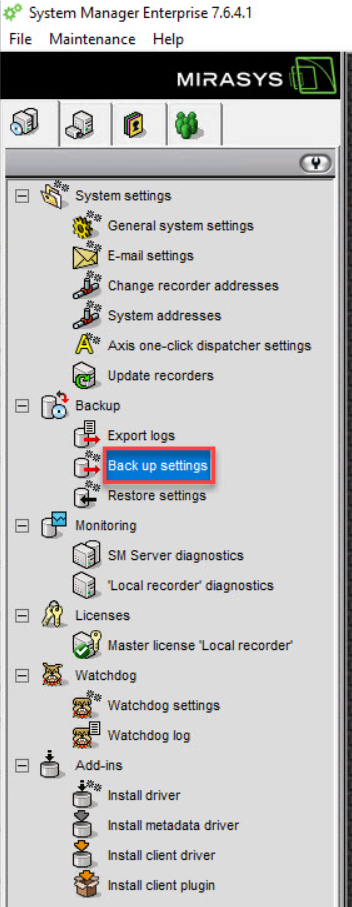
Go to the Systems tab
-
Open Backup
-
Click Backup settings
-
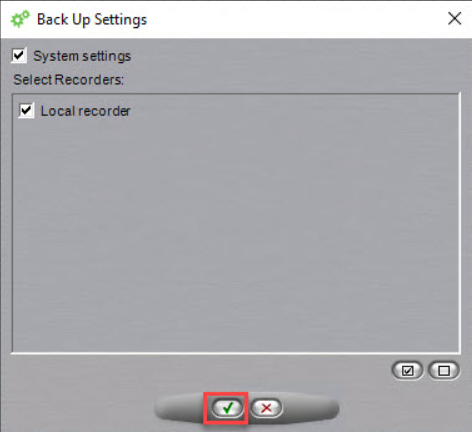
Use the default settings and click OK
-
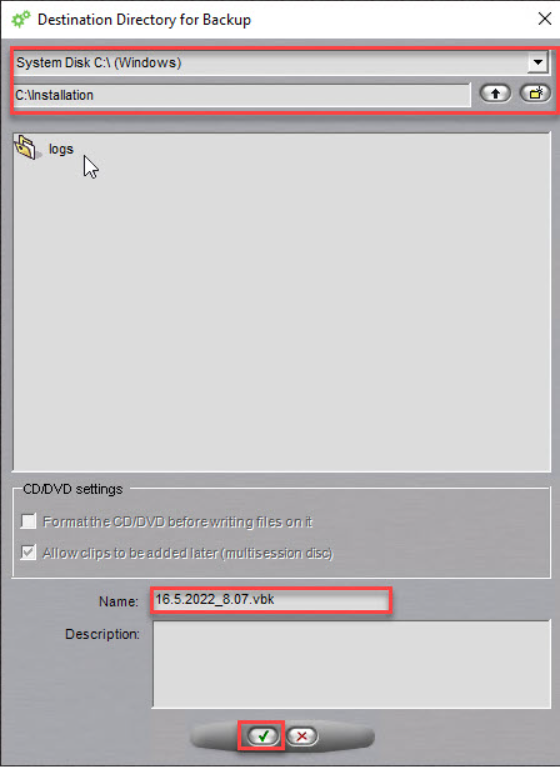
Select the file location and name
-
Click OK
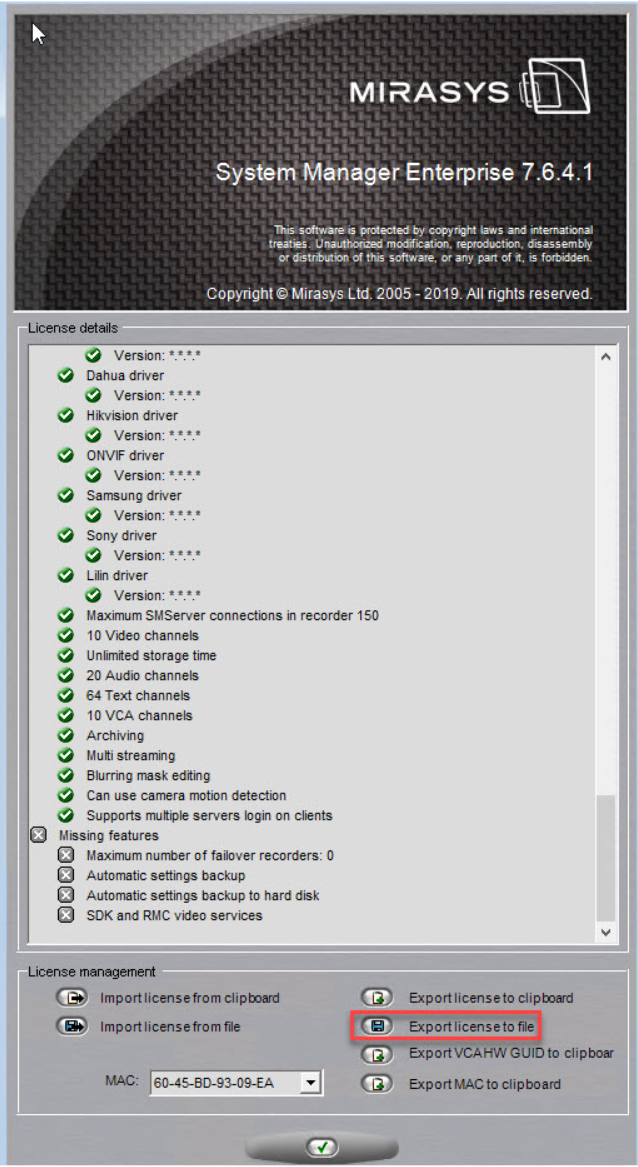
Backup existing system license
-
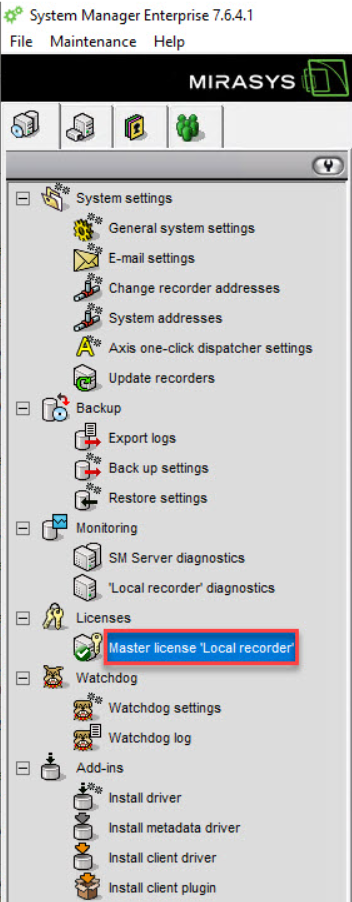
Go to the Systems tab
-
Open Licenses
-
Click the license
-
Click Export license to file
-
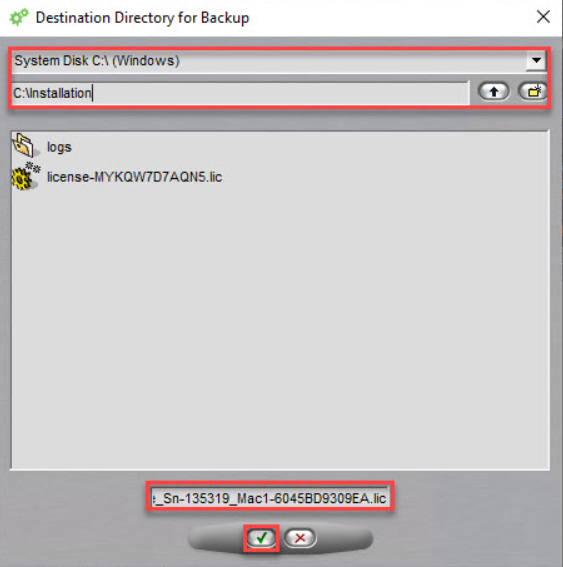
Select the file location
-
Use the default name(name contains license serial number and all system mac addresses)
-
Click OK
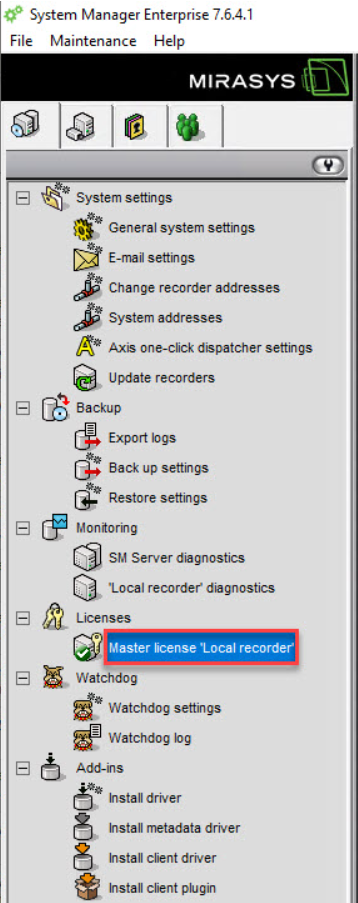
Upgrading new license to the system
-
Go to the Systems tab
-
Open Licenses
-
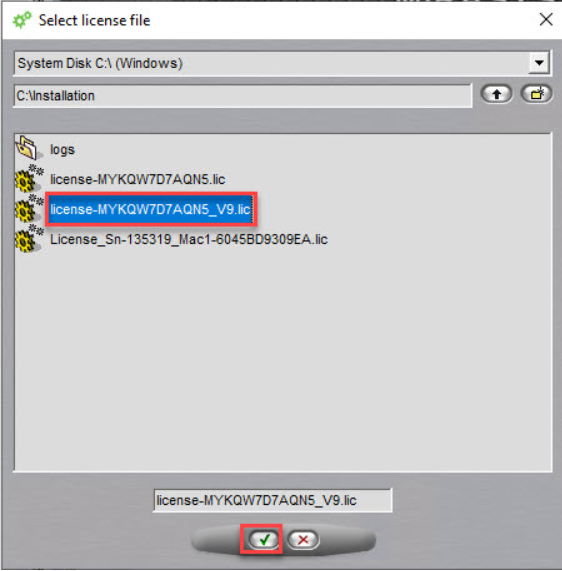
Select the new version license and click OK
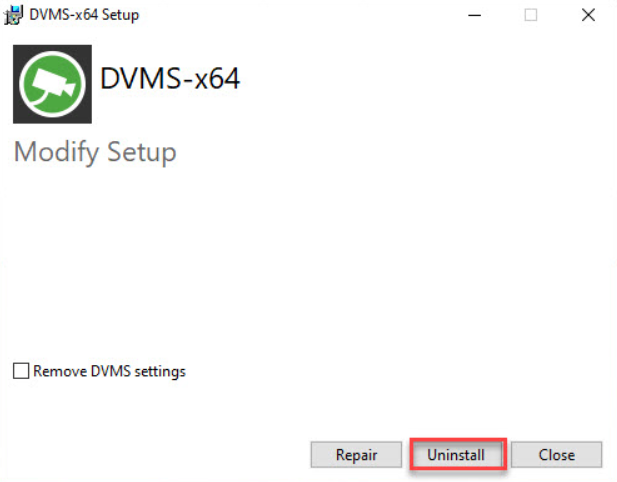
To remove the current server version:
-
Click Start, point to Settings, click Control Panel, and then double-click Uninstall programs.
-
Click DVMS and then click Uninstall
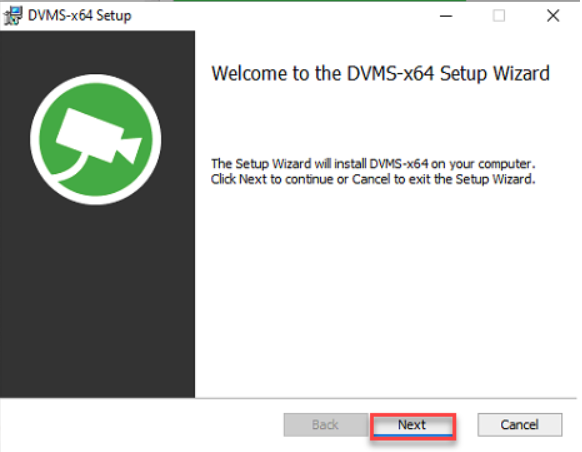
Installing the new version
-
Start the installation by clicking Complete installation package
-
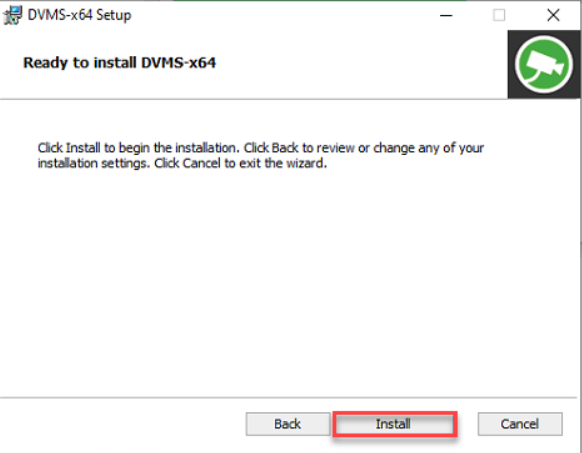
Click Install

-
Click Next
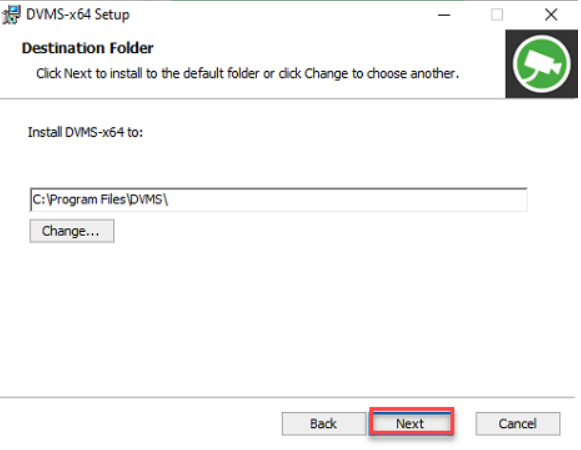
-
Use the default destination folder and click Next
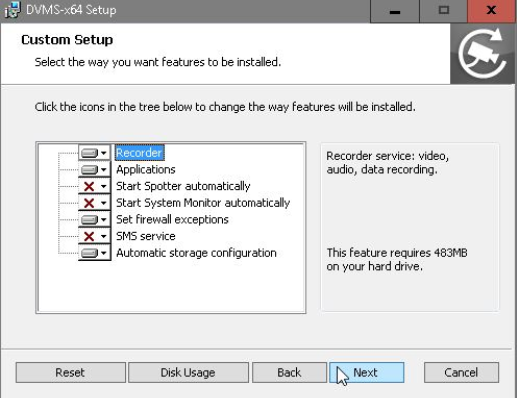
-
Use all default settings and click Next
-
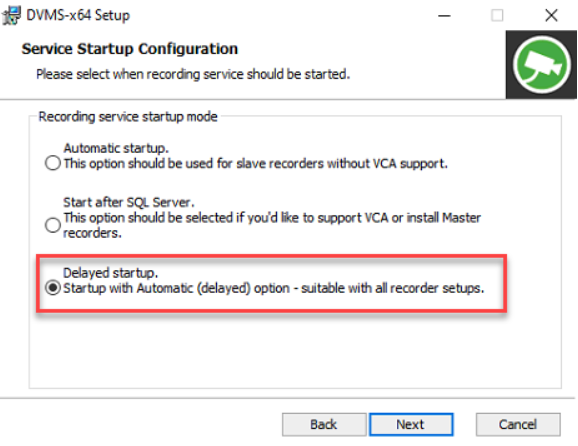
Select Service Startup Configuration to Delayed startup and click Next
-
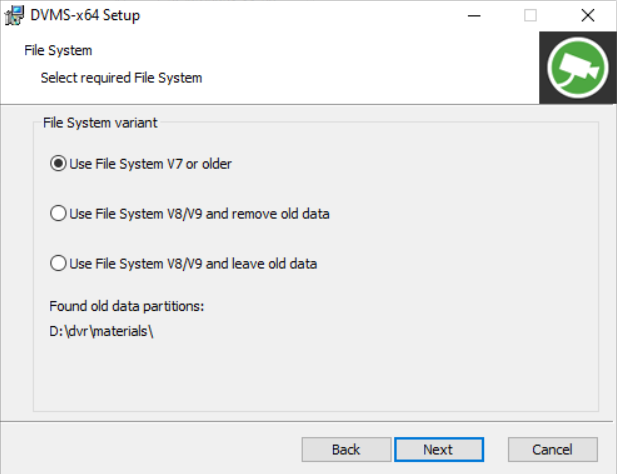
Select required File System and click Next
-
Use File System V7 or older - old storage will be used in V7 format without any changes to its structure. All calls to the V7 file system will be passed over the new API -> old API wrapper.
-
All previously recorded data (video, audio, text, alarms etc.) will be accessible after the DVMS update.
-
-
Use File System V8/V9 and remove old data - old storage will be erased and formatted to a new File System format. All previously recorded data is lost.
-
Use File System V8/V9 and leave old data - old storage will be left as is, but DVMS will be configured to use a new File System format.
-
This is useful if there is some additional disk that can be used for new data, and there is some need to keep old storage for some time to access previously recorded data.
-
Previous data can be opened as an archive in Spotter. The installer will create archive information if this option is selected in the installer.
-
-
-
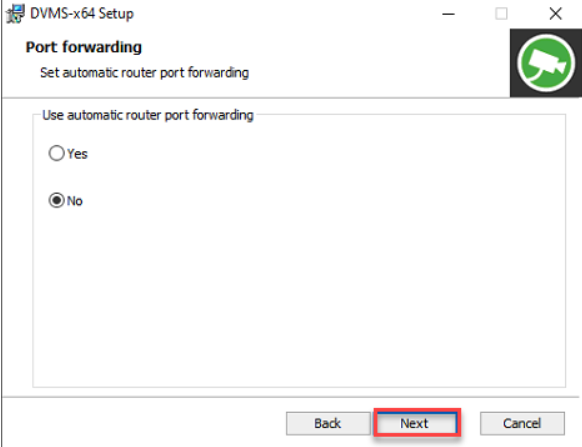
Use default settings in Port forwarding and click Next
-
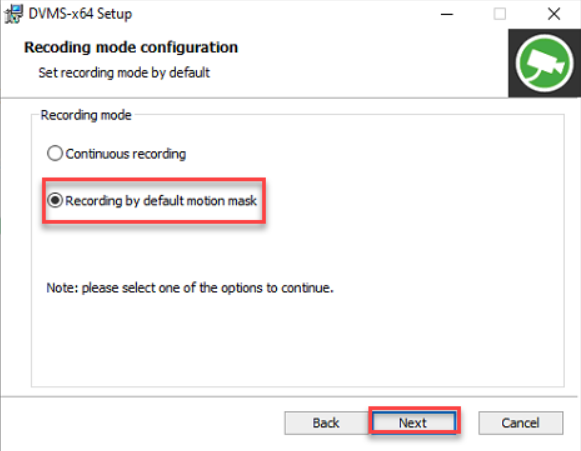
Select Recording mode configuration Recording by default motion mask and click Next
-
Click Install
-
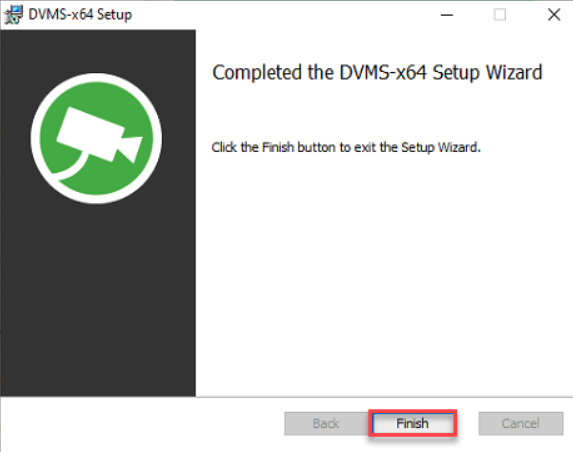
Click Finish
-
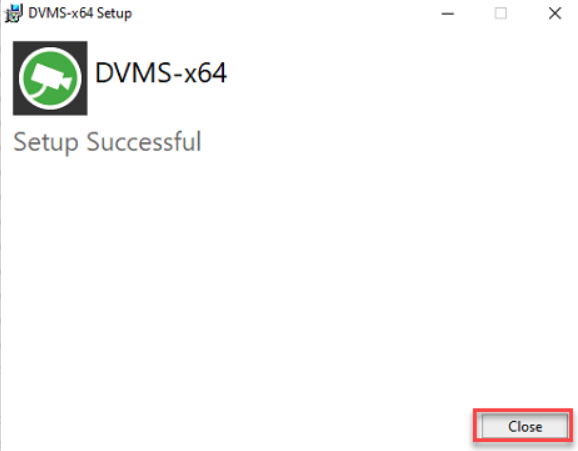
Click Close to finalize the installation
After the new version installation, please check that all cameras can get reference and system is working normally.