Logging in to Spotter
Double-click the Spotter shortcut on your desktop.

-
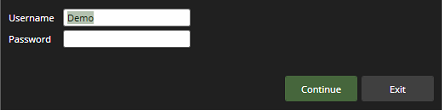
This will open the Spotter login window, where you can enter your username and password to log in.
-
Finally, click Continue to log in.
-
If needed, accept the terms of use to continue with the login.
-
User interface
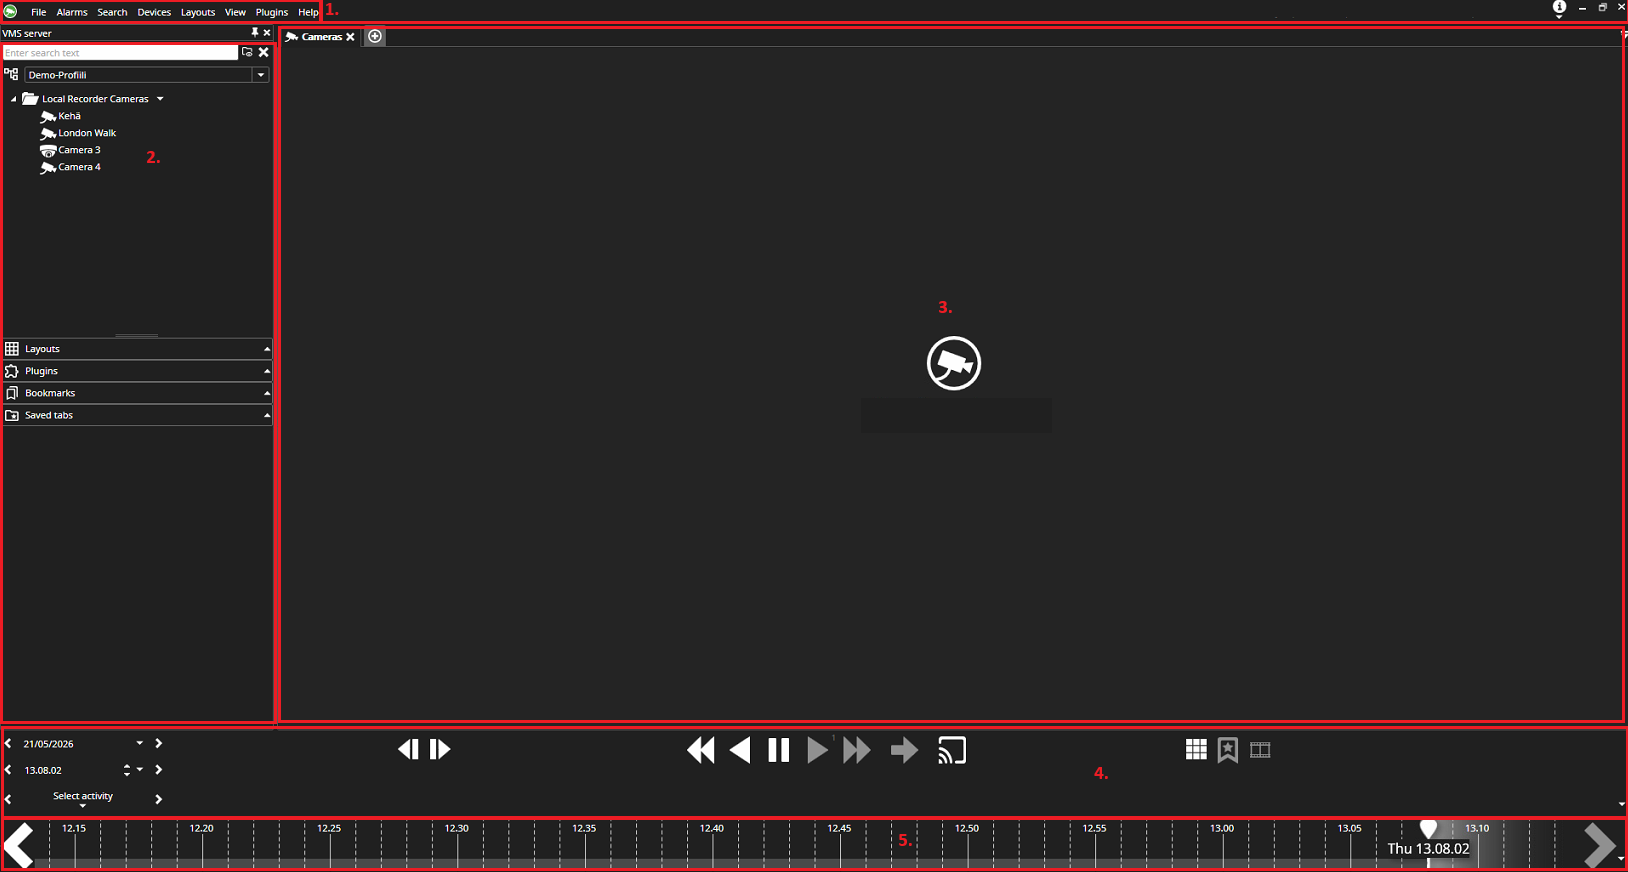
The user interface consists of the following sections
-
Menu bar: Here you can edit Spotter settings and open its add-ons.
-
Device tree: This displays the cameras and other devices added to the system.
-
Work area: In this area, you can open cameras and other devices from the device tree.
-
Time/date selection and playback buttons.
-
Timeline: This displays the timestamps of the recorded footage from the open camera/cameras.
Bringing cameras into the work area
-
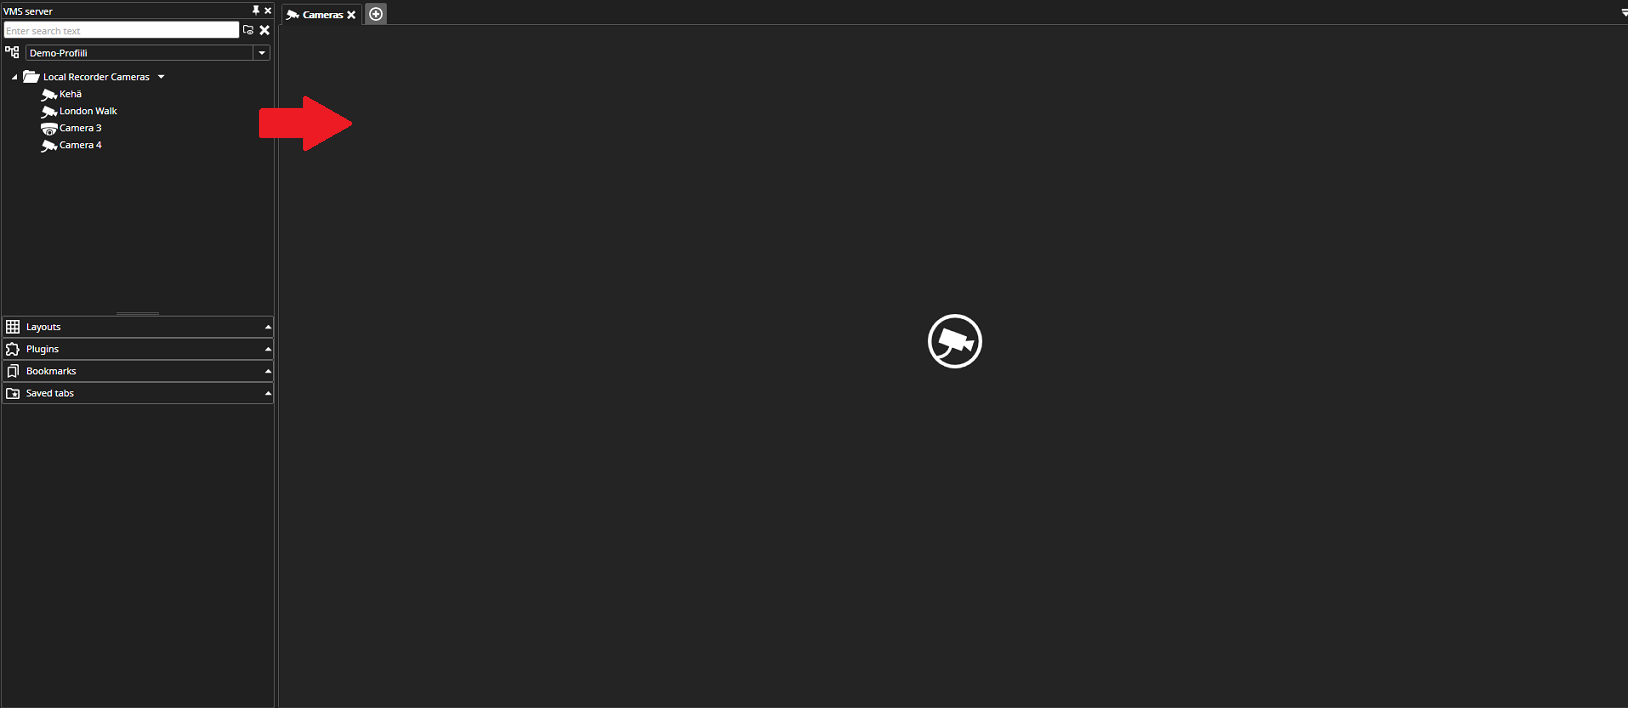
You can open cameras by double-clicking the desired camera, which will open it in the work area.
-
You can also open a camera by dragging it from the device tree to the workspace.
-
Alternatively, you can double-click or drag the camera folder to the workspace, which will open all the system’s cameras.
Searching material
-
Open the desired camera or cameras in the work area.
-
You can then play back the footage in the following ways:
-
By selecting the date and time.
-
By clicking the back/forward playback buttons.
-
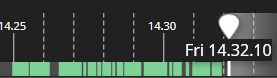
By moving the timeline slider with the mouse.

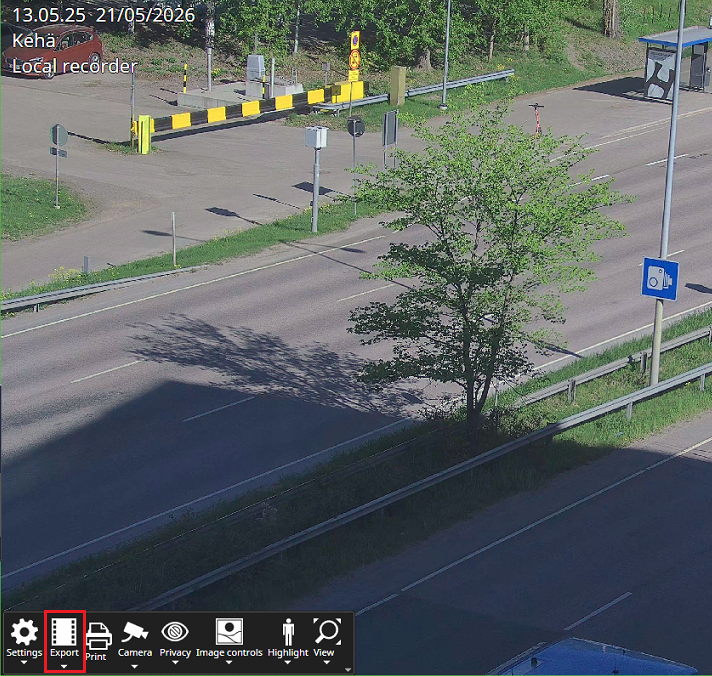
Exporting material
The system allows you to export material as follows:
-
Drag the desired camera(s) from the device tree or work area onto the timeline.
-
Or click the Export button in the camera(s)' context menu.
-
When the selected camera or cameras are in the Export section, you can select the desired time period either by entering the date and time or by using the mouse to drag the yellow markers to the desired start and end times.

-
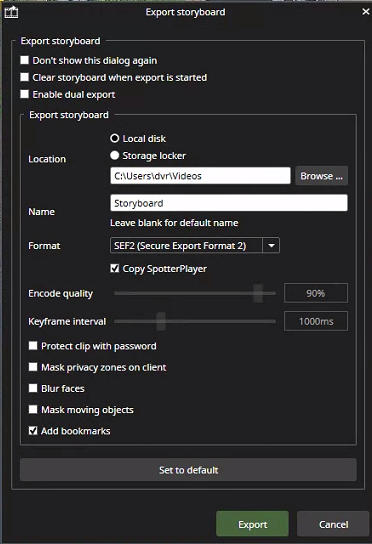
After this, click the green Export button, which opens a window where you can specify the following:
-
Location where the material will be saved
-
Name
-
Inclusion of the playback program
-
Export format
-
Configuration for additional settings
-

-
Finally, click the Save button to start exporting the material to the desired location.
-
The first time you do this, you will need to accept the terms of use.
-