-
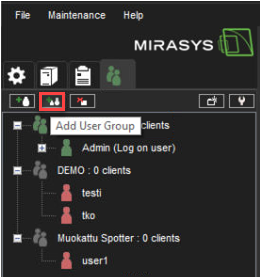
Click Add User Group
-
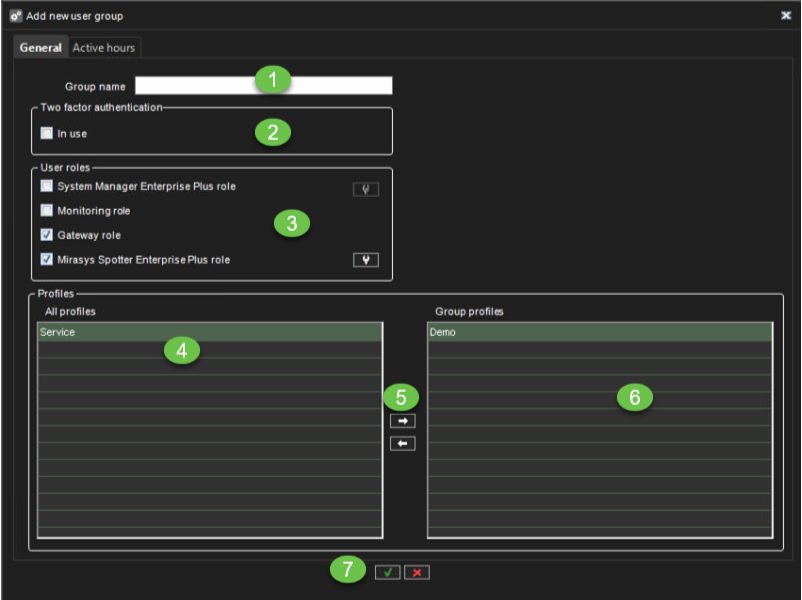
Type a name for the group in the Group name box
-
Enable Two-factor authentication, if needed
-
Select the User roles for the group.
-
Select the Profile or Profiles you want to assign to the user group.
-
Click the right arrow button or drag the profiles from the left panel to the group profiles box
-
Check that correct profiles is found
-
Click Ok to confirm user group creation
Tip: To select more than one profile at a time, keep the SHIFT, or CTRL key pressed.
Editing a User group
To edit a user group (whether system or domain-based):
-
Open the Users tab.
-
Click on the user group you want to edit.
-
You can edit the following settings:
-
Type a name for the group in the Group name box.
-
Select the user roles for the group.
-
Select the profile or profiles you want to assign to the user group. Click the right arrow button or drag the profiles from the left pane to the right.
-
-
Click OK to save the changes.
-
Tip: To select more than one profile at a time, keep the SHIFT, or CTRL key pressed.
Deleting a user group
To delete a user group (whether system or domain-based):
-
Open the Users tab.
-
Click on the user group you want to delete. Note that you cannot delete the default Administrators group.
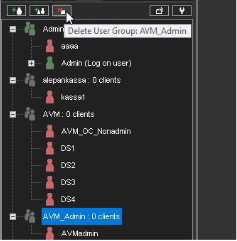
3. Click Delete User Group in the upper-left corner.
4. Click OK to delete the group.
Note: Domain-based (LDAP) user groups cannot be deleted through System Manager. If deleted, an LDAP group is removed from System Manager, but the domain group is not affected.