Scheduler defines which mask is used on each camera and what is active days and hours for the mask.
By default, video is recorded when the system detects motion in the default mask. The default mask is active 24/7.
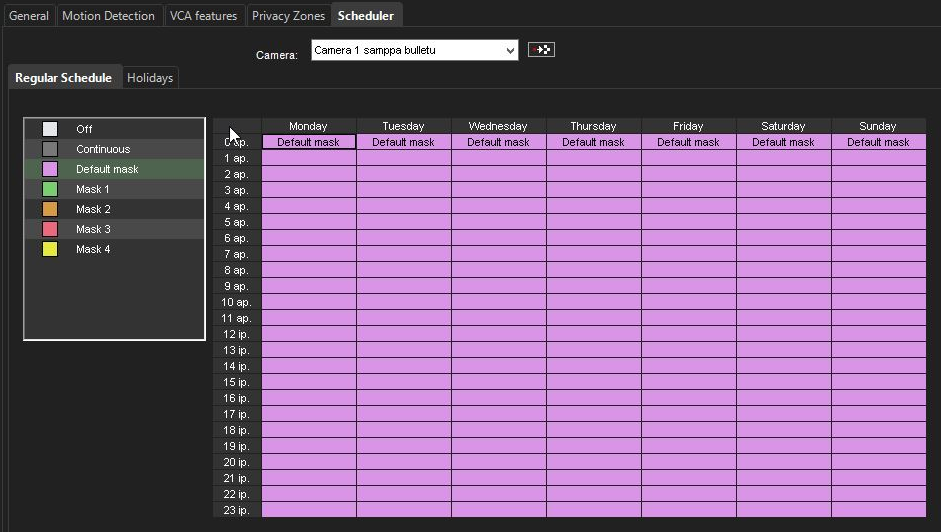
However, you can set different options for each hour of the week. For example, use different motion detection masks during the day and the night.
First, set the regular weekly schedule on the Regular Schedule tab and then, if necessary, set holiday schedules on the Holidays tab.
To change the schedule, click on the mask you want to activate, and then click on the scheduled hour where you want it to be used.
Tip: To change more than one hour at the same time, drag with the mouse.
You can also click the first cell, keep the SHIFT key pressed and then click the last http://cell. To change all hours in a column or a row, click the column or row heading. To change all hours of the week, click the cell above the hour's column (on the left side of the weekday heading row).
These options are available:
-
Off. Video is not recorded. However, possible alarms are recorded. Alarms are configured in Alarm Settings.
-
Continuous. The camera records all images. This option uses a lot of disk space.
-
Default mask. The camera records video using the default motion detection mask and default motion detection parameters.
-
Custom mask. The camera records video using a custom mask. Each camera can have as many as four custom masks.
To copy the current schedule for all cameras:
You can copy the currently selected recording schedule for all cameras in the system.
-
Click Copy Schedule .

-
When asked for confirmation, click OK.
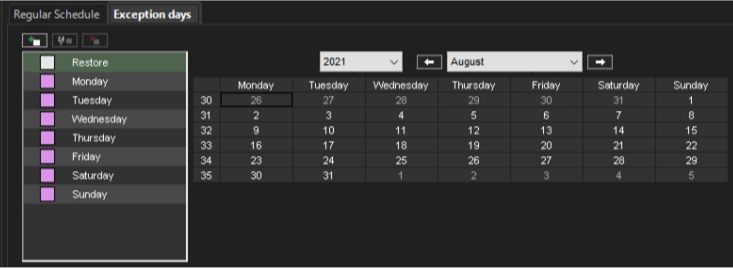
An exception days settings allow you to set holidays to the calendar.
To set an exception day schedule:
You can use different recording schedules for holidays.
You can apply a daily schedule from the Regular Schedule or use an Exception days schedule.
-
On the Exceptions days tab, select the year and month.
-
Click the schedule that you want to apply from the left panel and then click the holiday in the calendar.
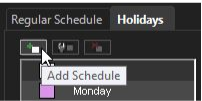
To add a custom schedule:
Click Add Schedule
-
Type a name for the schedule.
-
Click the mask you want to apply and then click the hours you want to apply the mask to.
-
Click OK.
To edit a custom schedule:
-
Select the schedule and click Edit Schedule.
-
Edit the schedule and click OK.
To delete a custom schedule:
-
Select the schedule from the left pane and click Delete Schedule.
To restore the original schedule:
Click Restore and then click the day that you want to restore.